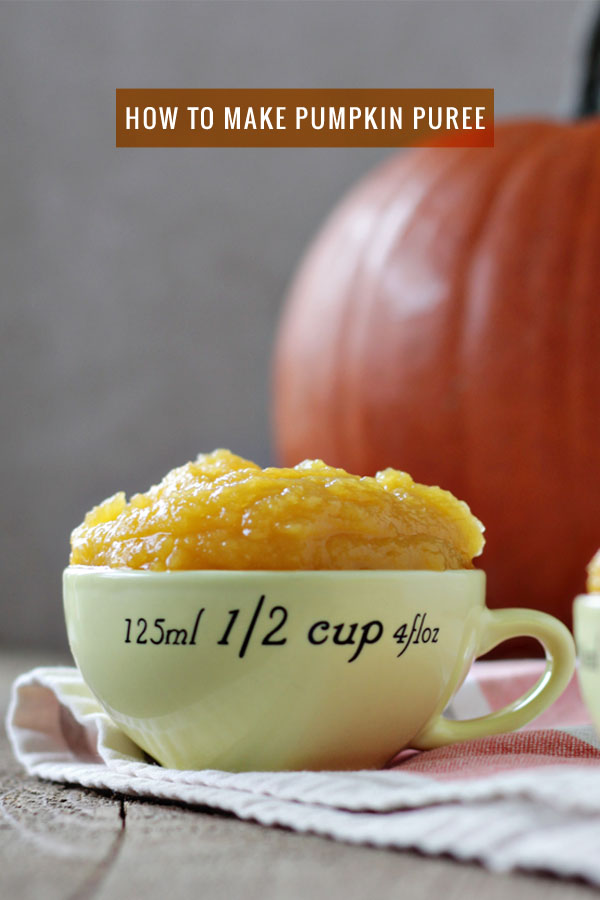
By now, you’ve probably heard that you really can make your own pumpkin puree – and, hey! It’s not such a crazy notion after all! It’s actually pretty easy, and makes your pumpkin recipes taste even more incredible than if you’d used canned.
Don’t get me wrong – I totally believe in buying canned pumpkin now and then. It’s convenient and it still tastes great. But whenever I’m able, I make my own. Even one pumpkin yields a huge amount of puree, and it’s so easy to freeze so you can have some on hand whenever you need it.
So are you ready to try making your own pumpkin puree? You’ll need a good solid two-hour hunk of time to make it happen, but there are a couple of stopping points I’ve noted in case any interruptions happen along the way.
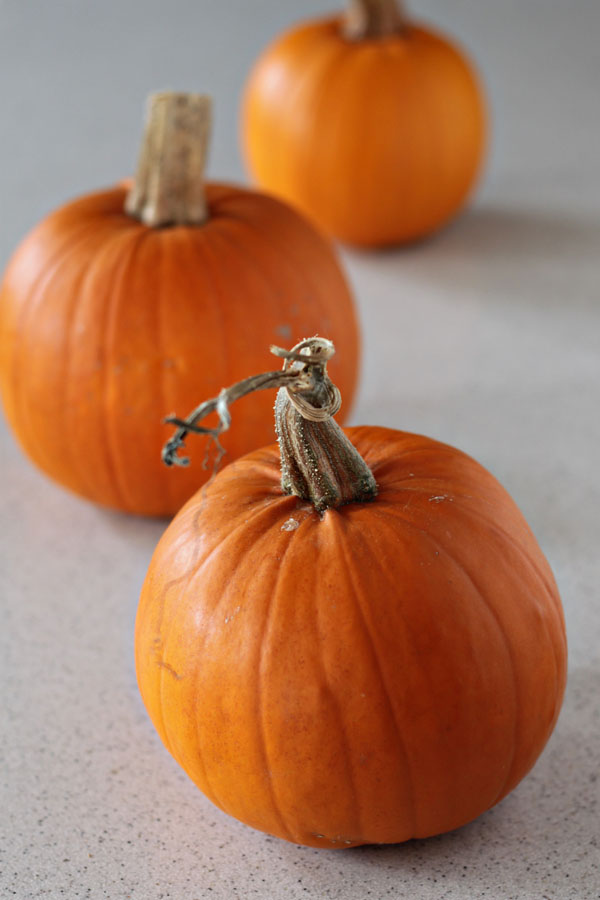
 It’s important to choose the right type of pumpkin when making your own pumpkin puree. Steer clear of huge, jack-o-lantern-size pumpkins – you want a “sugar” or “pie” pumpkin. Sometimes they’re called sugar pumpkins, sometimes they’re called pie pumpkins, and sometimes they’re called sugar pie pumpkins. Either way, they’re usually about six to eight inches in diameter, about the size of a volleyball or slightly smaller.
Choose a pumpkin that’s firm, smooth, no soft spots, and nice and bright orange in color. Like these!
 Okay, got your pumpkins? Let’s begin!
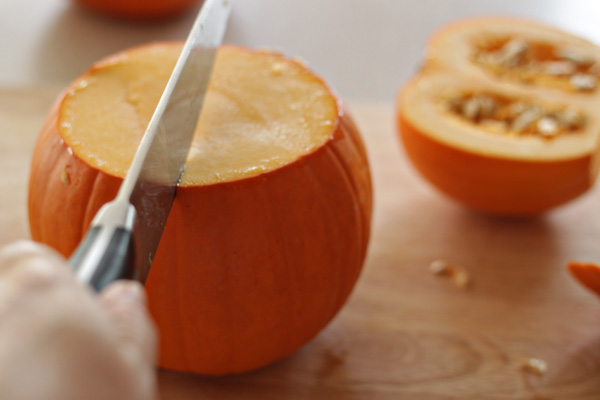
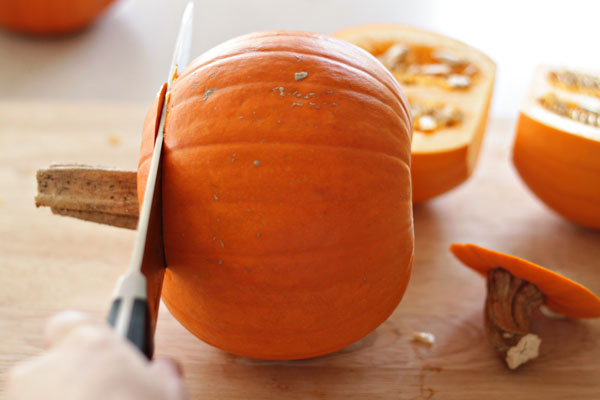
First, give the pumpkin a quick rinse to remove any residual dirt. Then, with a very sharp chef’s knife, lop off the top of the pumpkin, stem and all.
 Scoop out the innards – you know, the stringy guts and seeds – with a spoon and set aside. It’s okay if there are a few strings left – they’ll go away when baking.
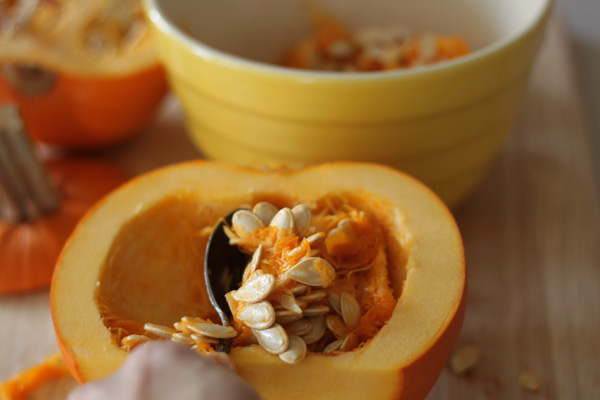 You can either either discard the seeds or save them and roast up a crunchy, delicious snack.
If you decide to save the seeds (and you really should!), here’s a quick trick for separating the seeds from the guts: remove the large gut chunks and put the remaining guts and seeds in a bowl of water. The seeds will rise to the top and the remaining guts will sink to the bottom. Then just skim off the seeds! Pretty cool, right?
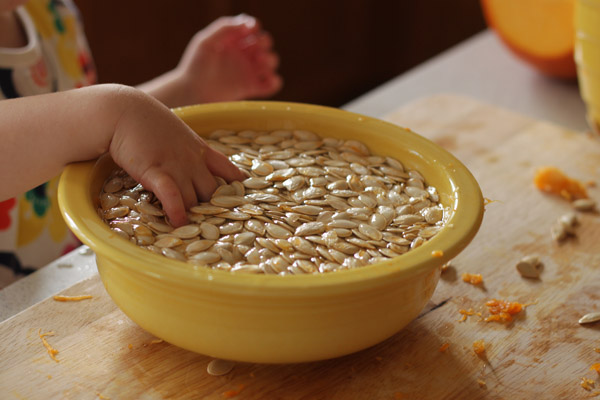 It’s also a fun little slimy activity for curious toddlers.
Now line a baking sheet with foil and lay the pumpkin halves cut side down.
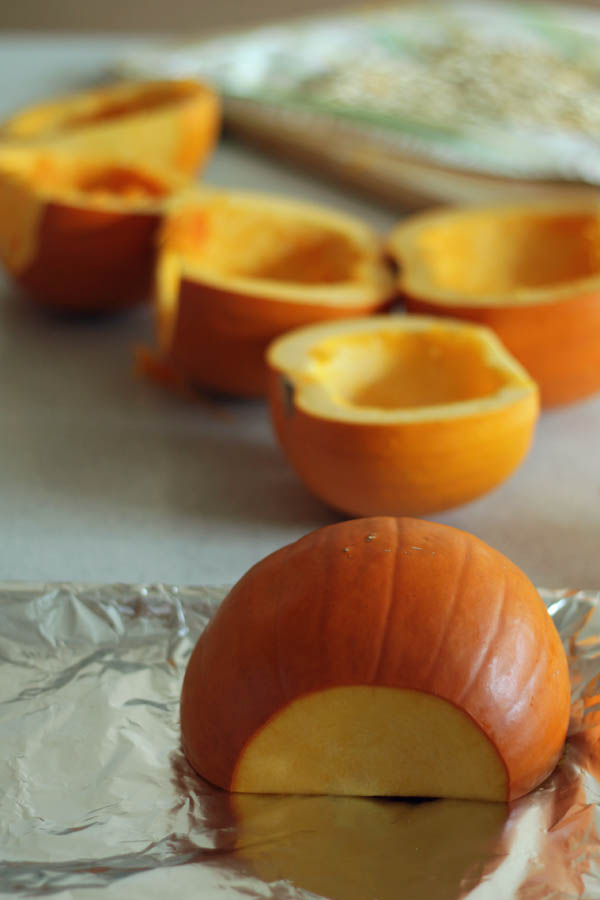 Line the entire baking sheet with pumpkin halves (I can usually fit six halves on a standard-sized sheet) and cover tightly with more foil. If you need to stop now, just throw the foil-covered pumpkins in the refrigerator for up to 24 hours before moving on to the next step (note that cooking time may be slightly longer).
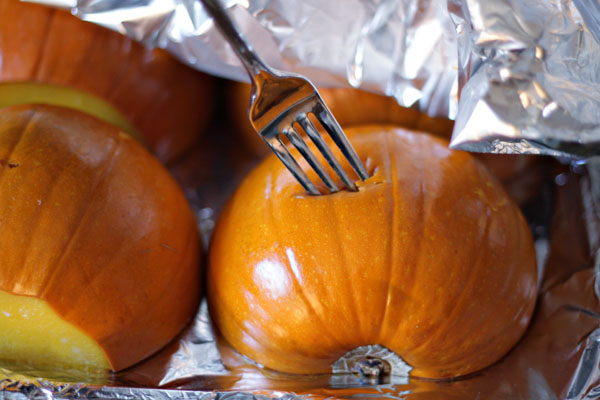
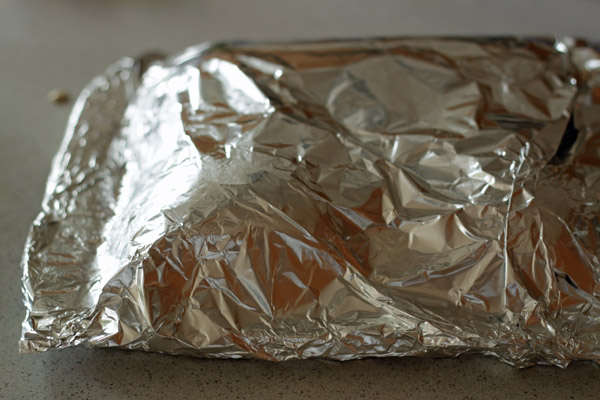 Bake at 325ºF for about one hour, or until a fork easily pierces the pumpkin. I usually start checking at around 45 minutes.
 Remove from the oven and allow to cool enough to handle. You can also refrigerate the cooked pumpkin halves for two to three days before processing. I’m at the mercy of a toddler’s whims, so trust me – I’ve had to do this several times!
Peel off the skin and discard. I find there’s really no rhyme or reason to how easily the peel will come off. Depending on the pumpkin, sometimes it peels right off, and sometimes you need to scrape the flesh with a spoon. I’m not going to lie – it’s a messy process. But totally worth it!
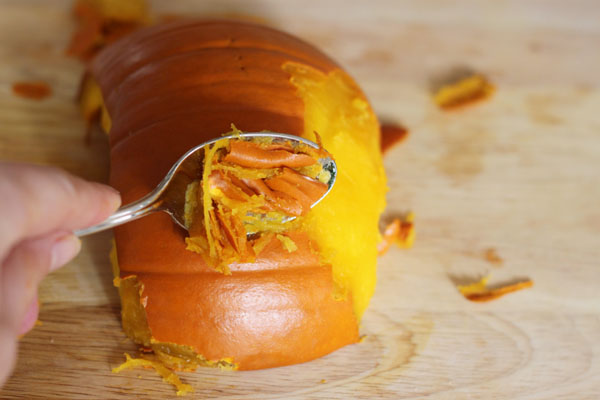 Place the pumpkin meat into a food processor or high-powered blender …
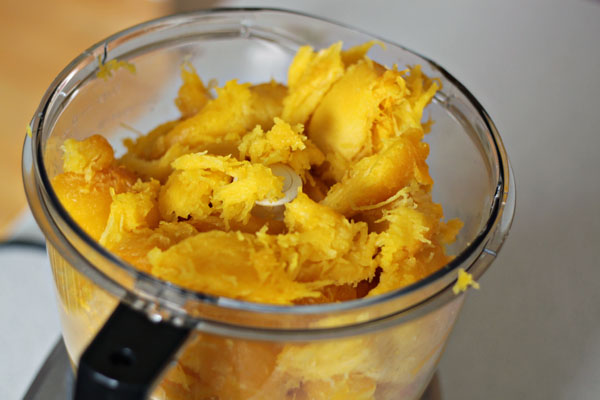 And pulse until completely smooth. Depending on your pumpkin, you may need to add a tablespoon or two of water to get it moving.
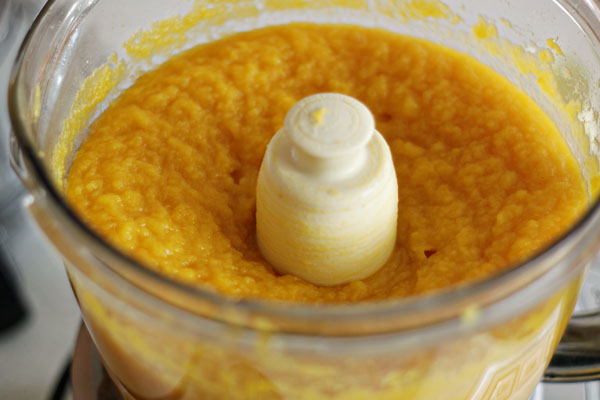 There you have it! Pumpkin puree!
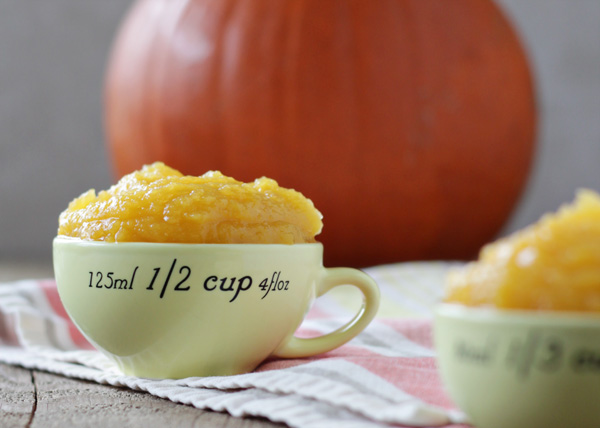 Now you can make pumpkin oatmeal, muffins, energy bites, pancakes, chili, smoothies, pies, cookies, brownies … endless pumpkiny possibilities.
To preserve, I like to freeze it flat in labeled zipper bags so that I enjoy pumpkin puree all year long.
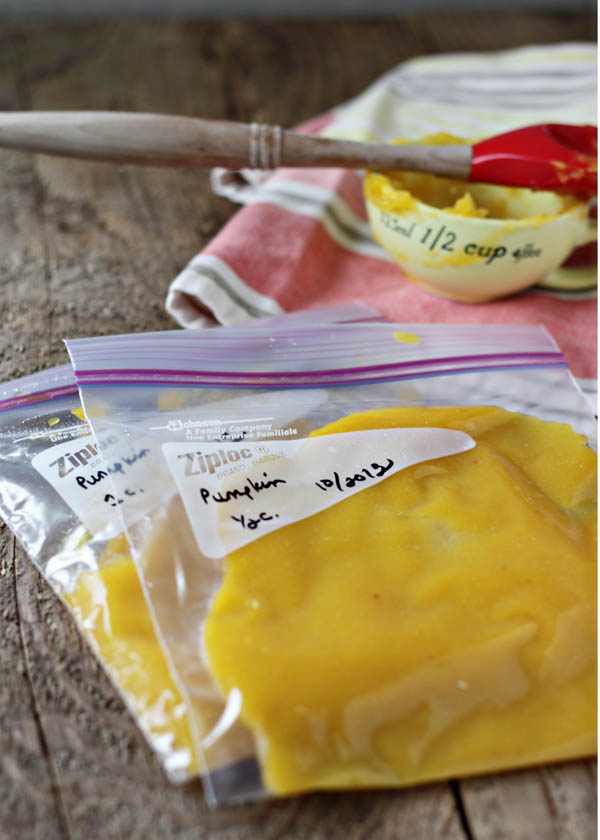 And that’s it! Not only is making your own pumpkin puree a huge cost savings over buying it canned, it also tends to taste oh-so much better. There’s a sweetness and a freshness to homemade pumpkin puree that just can’t be beat.
 Save Recipe
I will be making this soon, thanks! I love pumpkin anything but was always intimidated to start from a real pumpkin. Thanks to this great tutorial, I think I can do it. 🙂